How do I create events in Talon's course calendar?
You can create calendar events by adding due dates to items in Course Content, or on the Calendar Tool page accessed from the course Navigation bar
Adding Due Dates to Course Content Items
When creating or editing a module or items within a module, you can set due dates that will display the due date and time to students in Course Content, but also on the calendar. Students can still submit items after the due date, but these submissions will be flagged as late submissions. The due date will automatically be added to the course calendar.
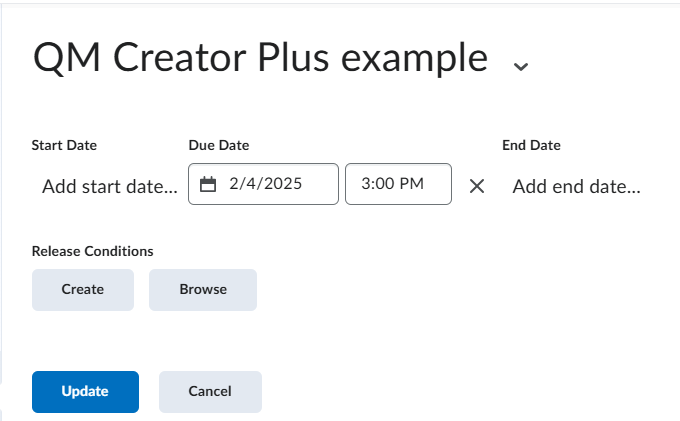
To set a due date on a content item inside a module, click on the action menu (down arrow) icon after the item title and choose "Edit Properties in Place." Then click on "Add dates and restrictions..." > "Add due date" to customize the due date. Click the Update button to save your changes.
Adding Calendar Events from the Calendar Tool Page
You can create an event, such as an in-person meeting for a hybrid course, that is not part of a module. To access the Calendar tool, select the "Calendar" option from the course navigation bar. Alternatively, from the course homepage, click the drop-down menu icon to the right of the calendar widget and choose "Go to Calendar" from the dropdown.
To create an event, click "Create Event," enter the "Event Title," and scroll down to set the date. When finished, click "Create".
If you are interested in creating recurring events, see How do I create a recurring event on the Talon course calendar?
Related Articles
How do I create a recurring event on the Talon course calendar?
If you need steps for creating a calendar event, see How do I create events in Talon's course calendar? When editing/creating an event on the Calendar, click the "Add Recurrence" button to set up a recurring event for the entire semester. Next, enter ...How can I delete old calendar items in Talon?
There are a few ways to identify and delete unwanted calendar items from the Calendar tool. Remove dates from the Date Manager tool With the course open, click on Course Admin > Manage Dates Here you will see a list of ALL the dates currently set in ...Why are students getting overdue messages for work they submitted before the due date?
You can make changes to Completion Tracking settings to inform Talon when items are complete. There are three completion tracking options. You can change these globally for all content in Course Content (click Course Content > “Settings” at the upper ...How do I create a quiz question pool on Talon?
This guide shows you how to create a folder of quiz questions in the Question Library and use it to randomly pull questions into a quiz for each student. For example, if you have 100 questions in a folder, the quiz can randomly choose 20 questions ...How can I rearrange modules in Talon’s Course Content?
Drag and Drop You will notice a 8 dot icon next to each module and submodule in the Table of Contents. The same 8 dot icon appears next to each content item in the main section to the right. Click down on this icon to grab hold of the item and keep ...